How to Choose a Muffin Pan: Material, Cup Size, Color and Care
A plain-English buying guide to muffin pans, from material and cup size to color, weight and how to keep the finish working for years.
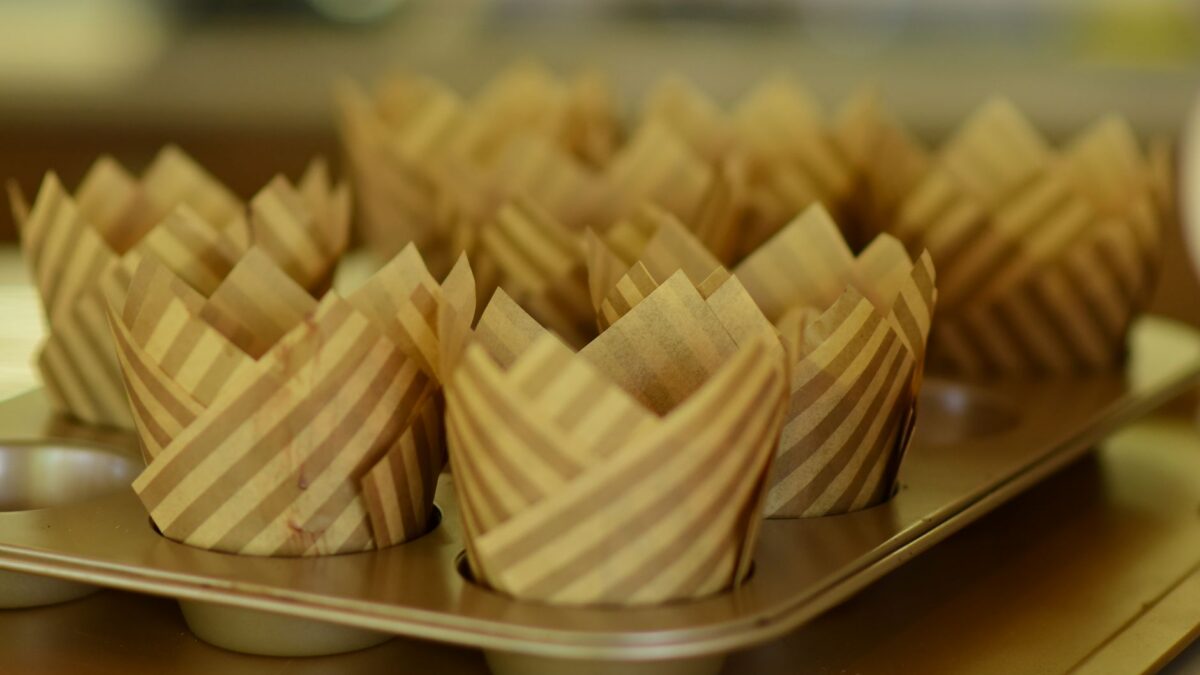
For most home bakers, the most useful muffin pan is a 12-cup, standard-size pan in light-colored aluminized steel or heavy aluminum, with or without a nonstick coating. It browns evenly, holds its shape, and works with or without paper liners. Dark nonstick pans and silicone pans have their place, but they change how muffins brown, so it helps to know what you are trading.
This guide covers the choices that actually affect your bake: material, finish color, cup size, weight and how to care for each type. There are no rankings here, just the specs worth checking on the label.
Material: what each one does
Heat moves into batter through the pan. Metal conducts heat quickly and evenly, which is why it gives crisp, golden sides and well-domed tops. Silicone conducts heat slowly, which tends to give paler, softer sides.
| Material | Browning | Release | Good to know |
|---|---|---|---|
| Aluminized steel | Even, golden | Good with grease or liners; better with a nonstick layer | Steel core coated with an aluminum alloy; sturdy, resists warping; common in commercial-style pans |
| Uncoated aluminum | Even, light | Needs grease or liners | Light and fast to heat; can discolor in the dishwasher |
| Nonstick-coated steel | Faster, darker if the coating is dark | Easiest bare-pan release | Coating wears over time; avoid metal tools and abrasive scrubbers |
| Silicone | Pale, soft sides | Flexible pop-out release | Floppy when full; set it on a baking sheet before filling |
| Cast iron | Deep, crusty | Good once seasoned | Heavy and slow to heat; best for cornbread-style muffins |
If you want a side-by-side look at the flexible option, see silicone vs metal muffin pans.
Color: light vs dark finish
Dark surfaces absorb more radiant heat than light, shiny ones. In practice, a dark pan browns the bottoms and sides of muffins faster and can set the edges before the center has finished rising. That is not always bad; some bakers like the darker crust. But if you switch from a light pan to a dark one with the same recipe, expect quicker browning.
- Light or silver finish: the most forgiving choice for recipes as written.
- Dark or black finish: start checking for doneness a few minutes early. If bottoms keep coming out too dark, many bakers lower the oven by about 25°F (about 15°C) and bake a little longer.
Cup size and pan format
Recipes are almost always written for a standard 12-cup pan. The other sizes are useful, but you will need to adjust fill amounts and bake times.
| Pan | Typical batter per cup | Typical bake at 350°F (180°C) | Best for |
|---|---|---|---|
| Mini (24 cups) | About 1 heaping tablespoon | 8 to 10 minutes | Lunchboxes, bite-size treats, parties |
| Standard (12 cups) | 1/4 to 1/3 cup, about two-thirds full | 18 to 20 minutes | Almost every recipe |
| Jumbo (6 cups) | 1/2 to 2/3 cup | 20 to 22 minutes or more | Bakery-style muffins |
| Muffin-top pan | A thin layer | Shorter than standard | Crisp-edged tops only |
The fill and time figures above follow Wilton’s cupcake guidance; many muffin recipes bake hotter, often 375°F to 400°F (190°C to 200°C), so always use the recipe’s time as the starting point. For a full time and temperature chart, see how long to bake muffins, and for converting a recipe between pan sizes, see muffin pan sizes and conversions.
Other specs worth checking
Weight and thickness
A heavier-gauge pan resists warping in a hot oven and evens out hot spots. Very thin, light pans are cheap but can twist, which makes batter sit unevenly in the cups.
Rim and handles
A wide, flat rim or built-in handles give you something to grip with oven mitts without denting the tops of the muffins.
Cup shape
Cups with slightly flared sides release more easily than straight-sided ones. Rolled or folded edges around the cups are fine; just make sure they are smooth enough to clean.
Oven-safe limit
Metal pans are generally safe at any normal baking temperature. Nonstick coatings and silicone carry a maximum temperature from the manufacturer; check the label or packaging and stay below it, especially if you use high-heat starts for tall tops.
Fit
Measure your oven and any other pans you bake side by side. Two standard pans on one rack should leave at least an inch or so of space around them for air to move.
Liners or no liners?
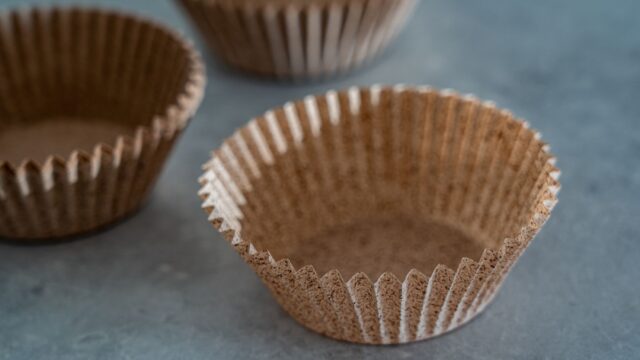
Paper liners make cleanup easy and help muffins hold together for transport. Baking directly in a well-greased pan gives crisper, browner sides. Nonstick pans release bare-pan muffins most reliably. If muffins cling to paper, the fix is usually about fat content and cooling time; see our muffin liners guide.
Care and cleaning
- Cool before washing. Putting a hot pan into cold water can warp thin metal.
- Hand wash coated pans with warm, soapy water and a soft sponge. Many manufacturers advise against dishwashers for nonstick and aluminum pans because detergents can dull finishes.
- Skip metal utensils on nonstick. Loosen muffins with a thin plastic or silicone spatula, or a butter knife used gently on uncoated metal.
- Grease with a little soft butter, shortening or oil rather than relying only on aerosol sprays, which some manufacturers say can leave a sticky film on nonstick coatings over time.
- Dry completely before storing, especially steel and cast iron, to prevent rust spots.
- Replace a nonstick pan when the coating is flaking or deeply scratched.
A simple decision rule
- Bake muffins often and want one pan? A light-colored, heavy-gauge 12-cup metal pan.
- Usually bake without liners? Add a nonstick coating.
- Bake for kids or parties? Add a 24-cup mini pan.
- Want bakery-size tops? A 6-cup jumbo pan.
- Need easy storage or freezer-to-oven egg bites? Silicone, used on a sheet pan.
Bottom line
Choose the pan your recipes expect: a standard 12-cup pan in sturdy, light-colored metal. Treat dark finishes and silicone as tools that change browning, and adjust by checking early. Look at gauge, rim and the manufacturer’s temperature limit more than marketing claims, and care for coatings gently so they last.
FAQ
Do I need to grease a nonstick muffin pan?
A light coat of fat still helps, especially for low-fat batters or recipes with sugary fruit that can caramelize and stick. Liners make greasing unnecessary.
Why do muffins brown faster in my new pan?
The new pan is probably darker or thinner than your old one. Check a few minutes early, and lower the oven slightly if bottoms are consistently too dark.
Can I use a cupcake pan for muffins?
Yes. Muffin pans and cupcake pans are the same thing; the name depends on what you bake in them.
What can I do with empty cups when the batter runs out?
Many bakers pour a little water into empty cups so the pan heats more evenly, though it is not strictly necessary with sturdy pans. Either way, avoid heating an empty nonstick pan at high heat for long periods.